|
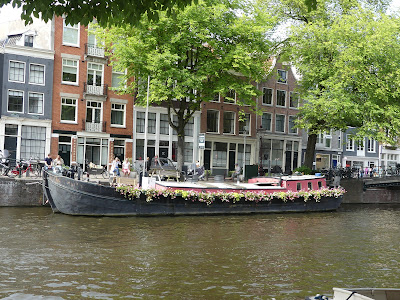
| Sunset in Lewes |
Last week I took a quick trip to the Delaware coast. I have come to love the beach-y areas of Rehoboth, Bethany, and Lewes. Each town has it’s own special charm, and miles of ocean front to enjoy.
Living at the Jersey shore, getting to Delaware is a short three hour hop, but the last few times, I’ve cut the driving time in half by taking the Cape May-Lewes Ferry. The ferry, run by the Delaware River and Bay Authority, offers a comfortable 90 minute sail with Adirondack chairs overlooking the bay, and some boats have a top deck bar (if you go, I recommend the orange crush with fresh-squeezed OJ).
Our accommodations for this trip was the beautiful Savannah Inn in Lewes. Set walking distance (about two blocks) from the main business area (2nd Street), we strolled to Agave for lunch on our first day, and then to Raas for dinner (more about each of those below). The inn, originally built in 1914 and fully restored in 2004, is an absolute respite from the day-to-day stresses of life. Furnished in a casual, comfortable style (but without overly kitschy seaside decor), you immediately feel welcome and at home. The inn provides an early continental breakfast in the dining room with coffee, fresh fruit, yogurt, muffins, etc., but also offers hot breakfast dishes from 8:30-9:30am. On the three mornings we were there, we were treated to fabulous blueberry pancakes, delicious quiche, and a terrific cheesy-egg scramble with hot biscuits. Each dish was accompanied by perfectly ripe melon. In addition, the inn also offers a complementary happy hour every day starting at 3pm. A lovely spread of wine, cheese, crackers, nuts, and cookies is laid out in the dining room for all guests to enjoy. On our first afternoon, we enjoyed chatting with a couple visiting from Ohio while sipping and snacking.
 |
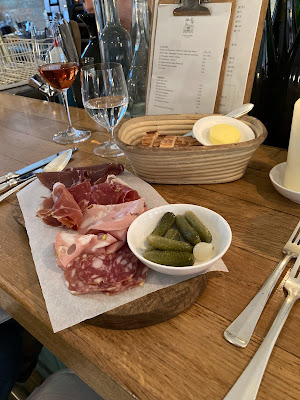
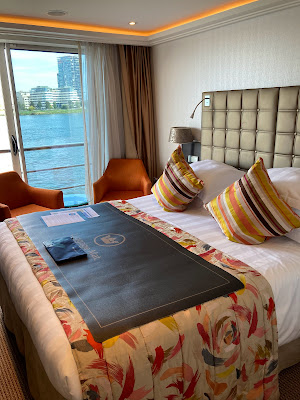
| Aperitivo on our private sun deck |
Every guest room is beautifully appointed, but we were lucky to secure the Beach House Suite, the inn’s roof-top quarters with a private sun deck, a separate living room, and a separate entry from the garden. It was heavenly. We brought a new Portuguese summer white with us from NJ to enjoy on the deck. Highly recommend the Savannah Inn if you are looking for a luxurious stay in Lewes.
On to food! As mentioned above, we had lunch at Agave, which has become our traditional first stop after disembarking from the ferry. The guacamole sampler is a must, along with a perfect mojito or pomegranate margarita. Service is always top-notch here, but the dining room can be very loud when full.
Our first dinner this trip was at Raas, set in a beautiful Queen Anne Victorian house built in 1899. Raas bills itself as an Indian fusion/pan Asian restaurant, and interprets the word “Raas” as a “celebration of food and culture.” They have an extensive cocktail list, many of them with an Indian nod. After two mojitos at lunch, I opted to skip cocktails and ordered a luscious Boen pinot noir from Santa Barbara to complement my entree. But others in my party loved their Indian Winter cocktail and the Over the Moon cocktail.
 |
| Garlic Naan at Raas |
You know I am a bread lover of any kind, so I could not pass up the house-made garlic naan. If you haven’t had naan, four words: fluffy, chewy, bubbly, yeasty! There were many possibilities for my main course, but I am a sucker for a really good roast chicken, so when I spotted the Tandoori Cornish Hen with Baby Potatoes and Vegetables, I couldn’t resist. It was the perfect choice - crispy skin outside, moist, fragrant and tender inside, with fabulous potatoes and carrots. We had a lovely table, tucked in a corner banquette, where we could watch the energetic dining room; and we were staffed by Chuck, an efficient but funny and pleasant, waiter. Toward the end of our dinner, Chef GG, the restaurant owner, stopped by to chat and told us about his fascinating journey from India to Delaware.
 |
| Tandoori Cornish Hen |
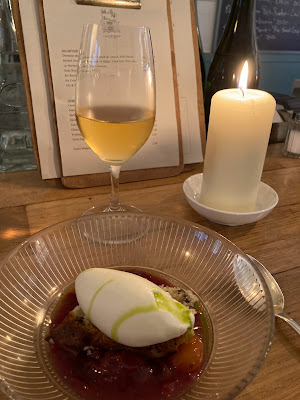
On our last evening in Delaware we had dinner at Blue Coast in Bethany Beach. We’ve been here a few times before and this restaurant never disappoints. And once again, I chose the crispy-skin halibut on a bed of fresh peaches and corn. Blue Coast knows what it’s doing, from the extensive wine list, to inventive cocktails, to a very well designed and executed food menu. We always make it a point to have dinner at Blue Coast.
 |
| Crispy Halibut at Blue Coast |
Hope you are having a good summer!